How to use a Moka Pot? 7 Great Steps
Do you prefer to start your day with a rich cup of coffee? If so, you’ll also be curious to know about coffee pots and their usage like how to use a Moka pot and clean a Moka pot as well.
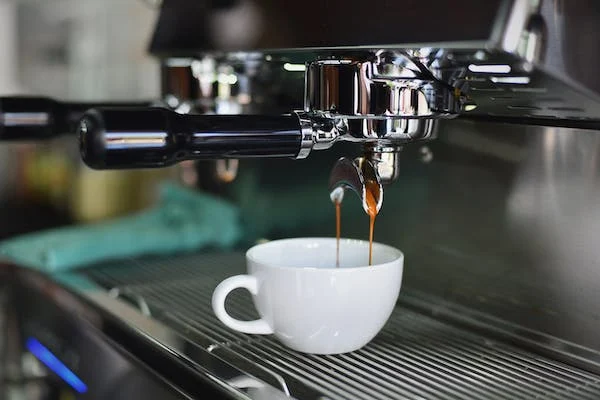
Most coffee lovers ask how to use a Moka pot. The answer is very simple. The Moka Pot use is a terrific method for making coffee smooth while is most known for making dark, rich coffee at home, it is surprisingly extremely flexible.
Read on to find out more about this process, including how to use a Moka pot for making coffee, which I wrote about! Moreover, you can also visit our collection of best Moka pot to purchase it for your kitchen.
What you should know about Moka pot?
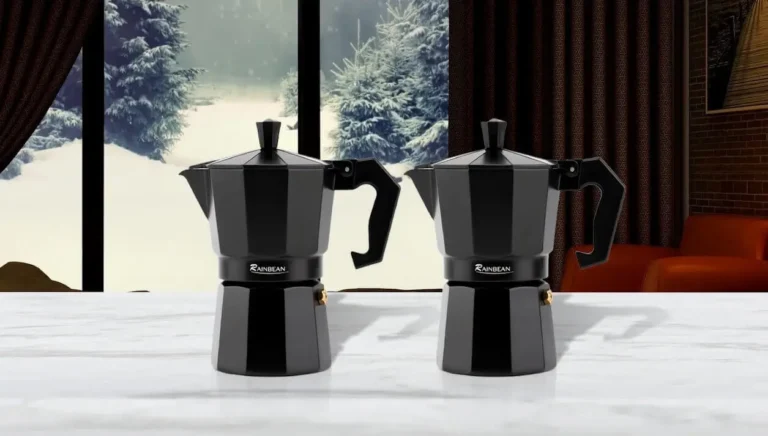
Moka Pot is a word for a stovetop coffee maker that serves a traditional Italian method to make coffee by pushing boiling water and steam through the coffee grinds, causing the coffee to bubble up into the Stovetop kettle rather than trickling down like ground coffee.
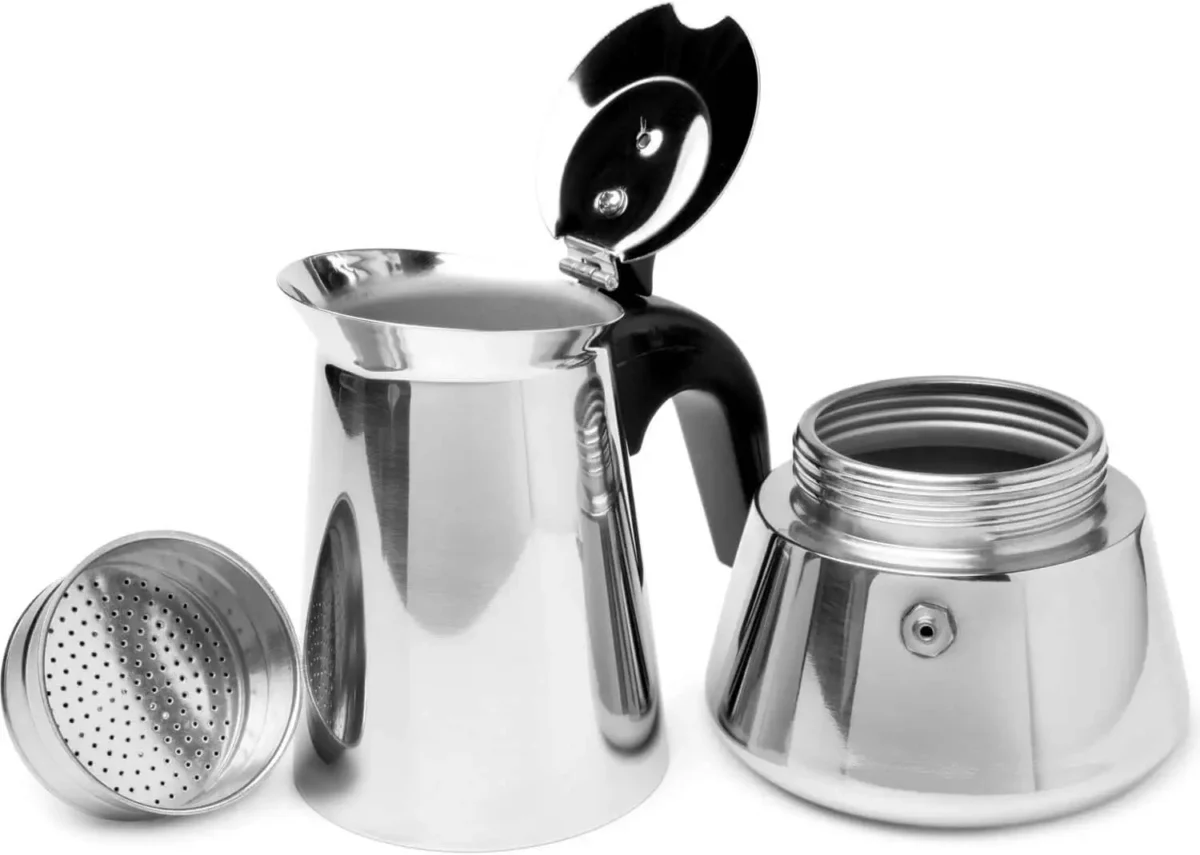
Every Moka pot coffee maker has a two-chambered, a cylinder (bottom chamber), and a collector (top chamber) that are simple to operate and produce a full-bodied, aromatic coffee.
General Recommendations to use a Moka Pot
If you are really a coffee lover, then stay with your stove while it is in process. As the brewing process can end any time so it’s better not to leave the stove before it is finished. Although, there are few other things that you need to remember in order to use a moka pot:
- Choice of Coffee: It is mostly dependent on your choice of flavors but Moka pots generally gives us espresso like coffee. Dark roast beans are mostly used due to this reason.
- Stove Selection: While you are purchasing a Moka pot, you must keep in mind your home stove either its electric or gas. If you are using induction stove, then specialized Moka pot designs of Bialetti are more preferable.
How to use a Moka pot to make coffee? Step by Step Process
Are you eager to explore how to use a Moka Pot? We’ll show you how to operate a conventional Moka pot. The procedure is quick and uncomplicated, but it may take a few steps to get your stovetop coffee maker ready. Here’s what you should do:
1. Grind the Coffee
Before going to use a Moka pot to make coffee, Grind around 20-22 grams of coffee beans to the texture of table salt or espresso grind, or slightly bigger but not as fine as for an espresso machine.
The greatest coffee is made with freshly ground coffee beans. Before using your coffee beans, ensure they’re freshly ground.

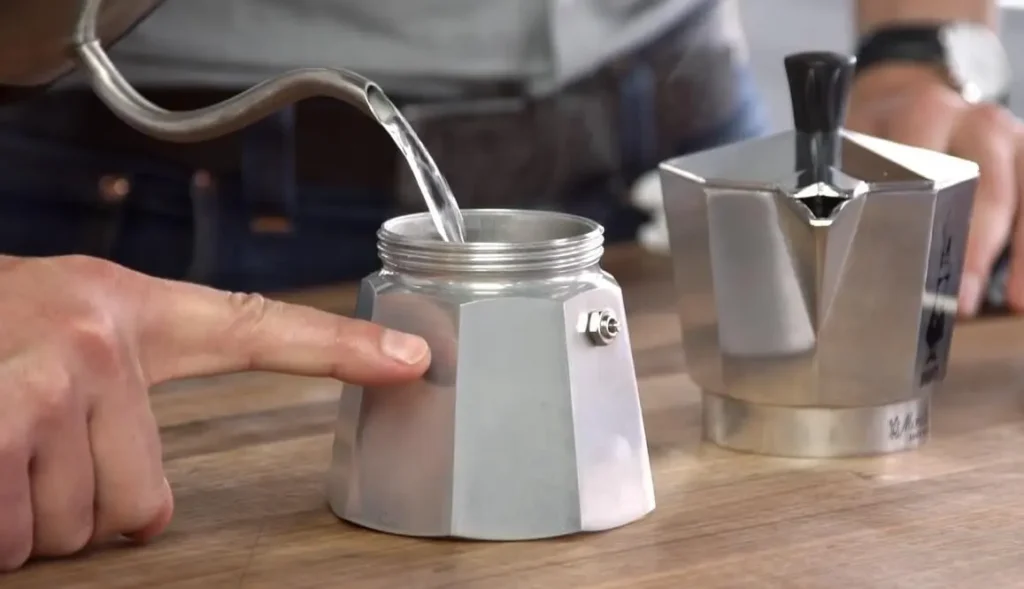
2. Add water
Others recommend preheating the water to use a Moka pot, but I like cold filtered water for the best coffee flavor. Separate the basket from the Moka pot and set it aside.
Pour water into the bottom chamber of the stovetop kettle until it reaches 345 grams to use a moka pot for making delicious coffee.
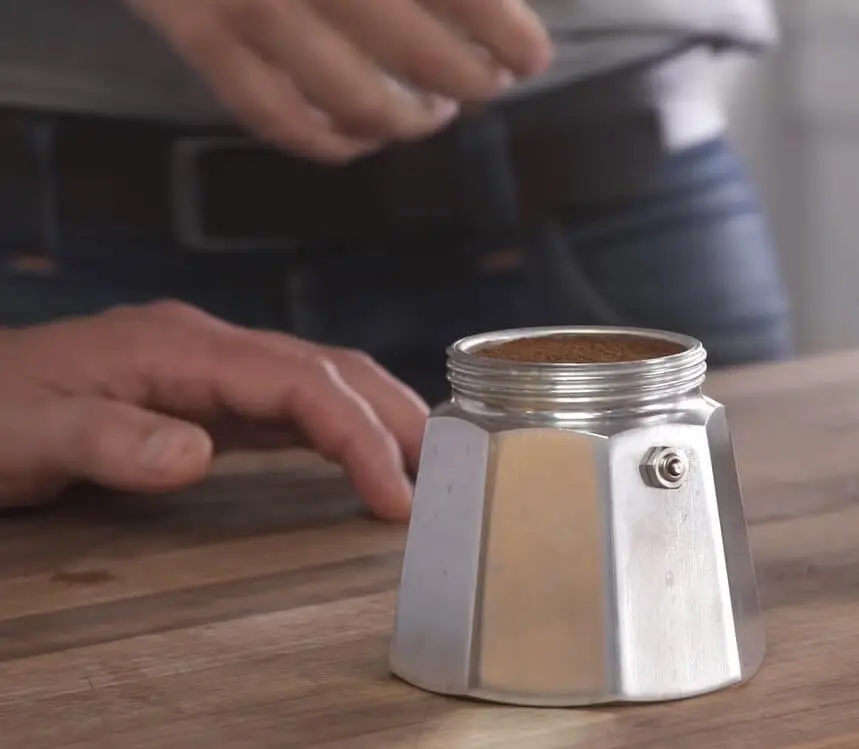
3. Pour coffee into the filter holder
Place the metal filter basket in the brewer and the scale on top of it. Fill the filter basket with coffee, gently mush, and make sure the grinds aren’t packed too firmly. Use your finger to smooth off the grounds in the filter basket, but don’t tamp the grinds down.
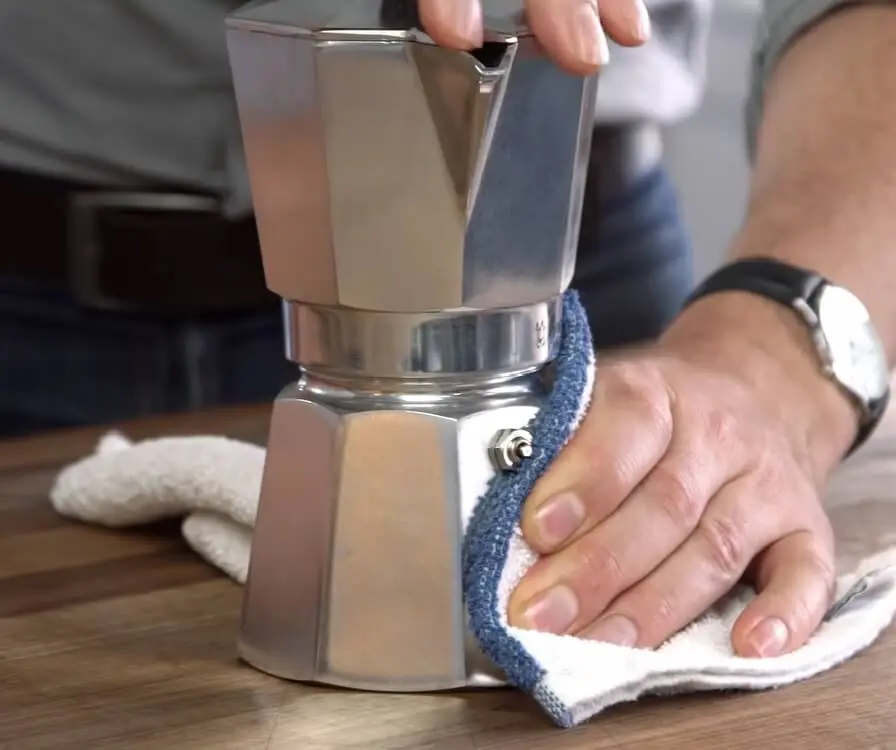
4. Put the Moka pot together
In the boiler, place the filter chamber.
Using a heat-resistant cloth and hot pads, screw the top and bottom together securely but not too tightly. Now you can use a moka pot to make your coffee.
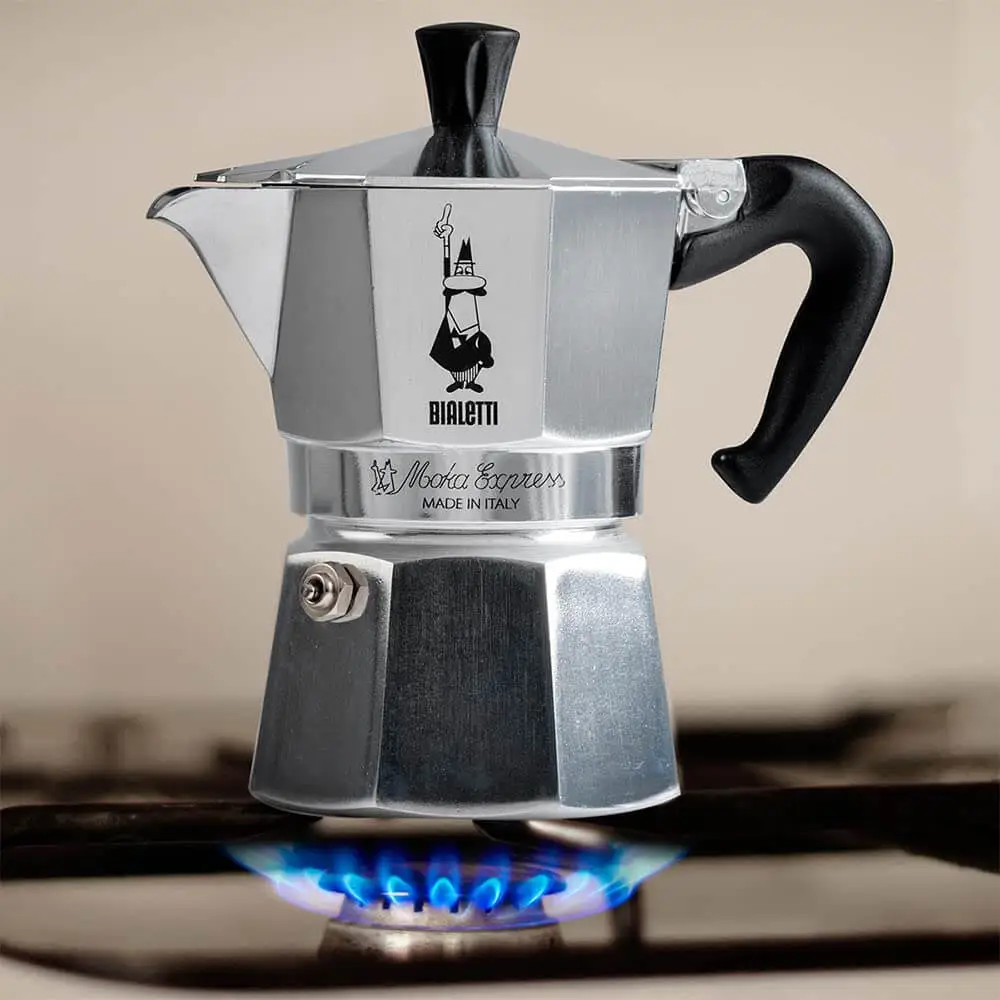
5. Place on a medium heat source
We know coffee lovers ask how to use a moka pot on a gas stove. Answer is very simple, set your kettle to boil, reduce the heat to medium-low, and ensure that the handle is not exposed to the heat. Unless you’re using a temperature-controlled kettle, heat it to 205°F. Keep the top lid slightly open.
6. Wait for the coffee to brew (5–7 minutes)
Water will heat up via the coffee filter when the liquid in the bottom chamber approaches a boil. Around 3 to 5 minutes, you’ll hear the coffee begin to bubble. As soon as the coffee flows into the top chamber, remove the Moka pot from the heat and let the coffee continue brewing.
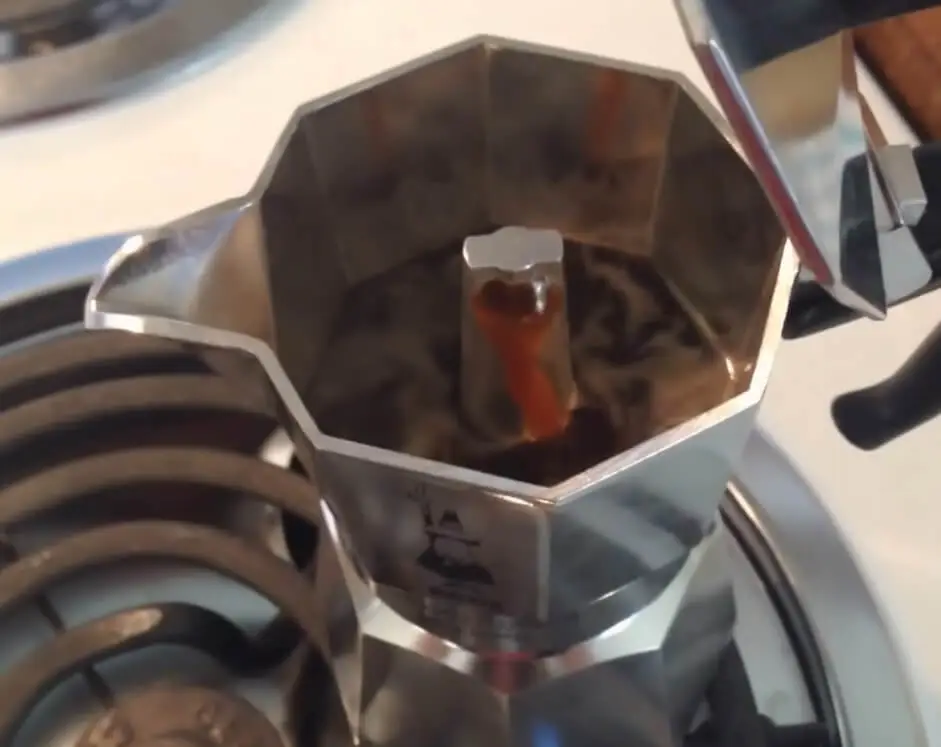
If required, adjust the stovetop temperature during the brewing process. After about 2 minutes, you’ll hear it quickly boiling; then observe as the volume and frequency of the boiling sound rise. The coffee is ready when the sound fades to air and then hears a loud gurgling sound. Turn the heat off.
7. Check the coffee and serve it
Lift the lid of the pot and glance inside once the heat has been turned off. There must be enough coffee in the chamber. In the upper chamber, carefully stir the coffee with a spoon once it has been withdrawn from the heat.

Stir the coffee to combine the layers before pouring to ensure a smooth taste and serve right away. Drinking Moka pot coffee straight soon is the best way to enjoy it. Allow cooling before serving and enjoy! If you want to know about the important tips of serving a coffee you can see here.
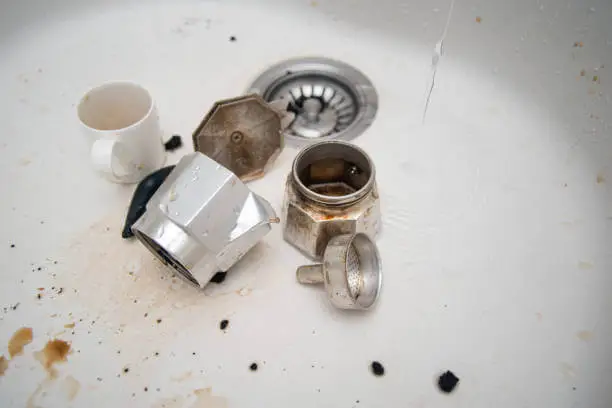
How to Clean a Moka Pot?
The taste of the coffee can explode if you use a moka pot without completely cleaned, which doesn’t happen very often. Before cleaning the Moka pot, empty it and allow it to cool completely.
If you give your Moka pot a thorough cleaning every once in a while you are going to use a moka pot, it will make your coffee taste better and keep it safe from becoming unpleasant. Additionally, this will make your Moka pot last longer. The procedure of cleaning and descaling, fortunately, is rapidly and you can clean it without much effort.
1. Disassemble the Upper Chamber
After the kettle has cooled to the point where it can be handled safely, disassemble all of the components one by one. The upper chamber of the coffee brewer should be disassembled first, followed by the removal of the filter basket.
When removing the rubber gasket from the upper portion, it is advised that you make use the handle of a teaspoon. You may clean the upper chamber of the coffee maker using a sponge and normal dish soap to get rid of any dirt.
2. Rinse all the components well
When rinsing the upper chamber of the coffee brewer, it is recommended to use warm water rather than cold water since it is more effective.
Ensure that each component, particularly the filter basket, rubber gasket, and the region surrounding the safety valve, is thoroughly rinsed.
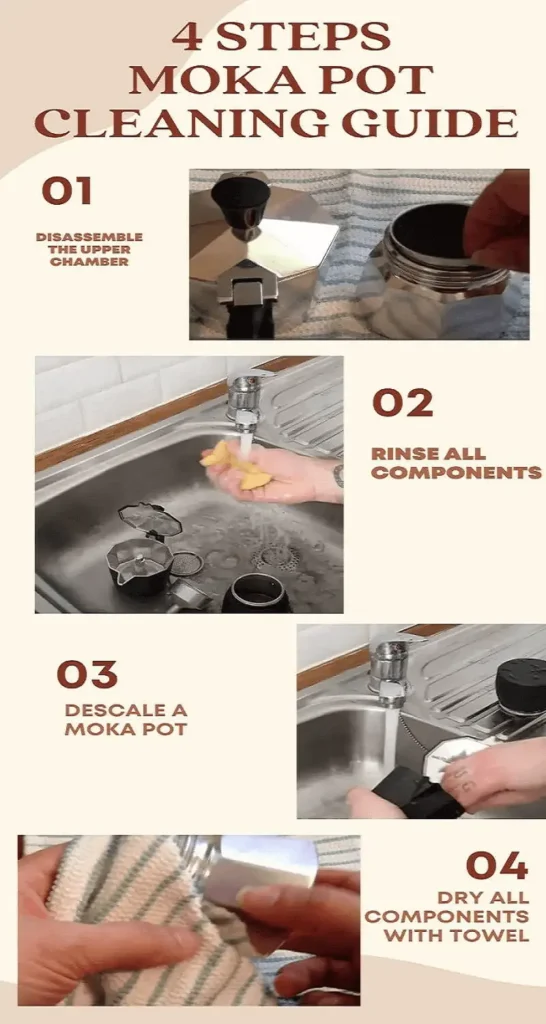
3. Descale a Moka Pot
A simple wash won’t be enough to get all of the grime out of the chamber of a coffee maker; thus, it is important to descale before you are going to use a Moka pot. You have the option of using a solution that you make at yourself or purchasing one from a store.
- It is necessary to pour sufficient water into the lowest chamber of the Moka pot.
- Put two teaspoons of white vinegar that has been distilled into the water. Apple cider vinegar or lemon juice can be used as a substitute as well.
- Reassemble all the components and let it rest for couple of hours.
- Pour out the vinegar water, and then proceed to disassemble the pot once it has cooled down enough.
- After this, give each component a last clean under running hot water.
4. Dry all components with Towel
Make use of a cloth to remove any water droplets that may have accumulated on any of the Moka pot’s components. To do this task, you may make use of either a cotton or paper towel. These are necessary procedures to follow in order to clean a Moka pot after or before use. After thoroughly dried, you can now use a Moka pot to make your coffee perfectly.
Moka Pot Accessories:
Are you ready to create some Moka Pot coffee? You’ll need the following items in regard to use a Moka pot along with fresh coffee beans:
Coffee Grinder: You’ll need a fine grind for this: espresso or slightly bigger. A burr grinder is an excellent instrument for achieving table salt consistency. If this product is missing in your kitchen, then you can check our list of best burr grinder.
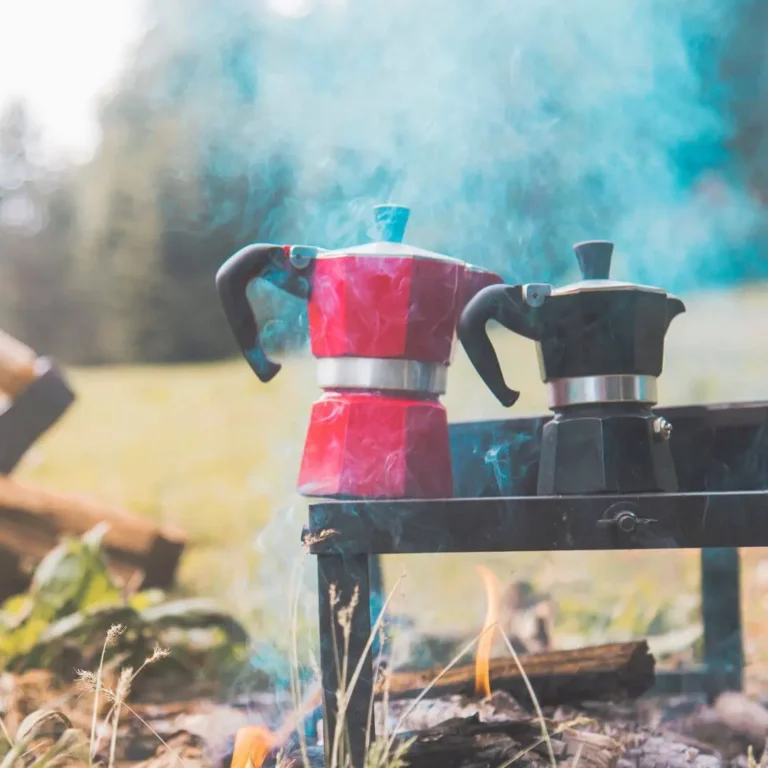
Heat Source: You can cook on the stovetop or on a heating block; if you’re camping, you can also cook over an open fire with the Moka pot.
Coffee with a dark roast: This method works nicely with coffee that is dark or espresso roasted. (For light and medium roasts, the Chemex is preferable).
Coffee Scale: For weighing coffee and water, a digital coffee scale such as the HARIO V60 Drip Coffee Scale is useful.
Stovetop Kettle: For brewing, we recommend a Stovetop gooseneck kettle, although a regular tea kettle will suffice.
Conclusion
Overall, the use a Moka pot (also known as stovetop espresso, Bialetti, and Moka express) is one of those brew techniques that, depending on your background with it, seems wonderfully nostalgic. The end result is a robust and rich cup of coffee.
Finally, if this is your first time to use a Moka pot, I hope this post provides some guidance on how to season it before making it drinkable. The little gadgets are inexpensive and simple to operate at home, so with a little practice, you’ll be able to enjoy Moka pot coffee anytime you want!